frizzy or fried tips? here's the recovery protocol
Frizzy brow tips after a lamination aren't a mystery — they're chemical over-processing. Step 1 broke more disulfide bonds than the cortex can rebuild between sessions. Recovery isn't about a hero product; it's a 6 to 8 week chemistry hiatus plus a structured protein-and-hydration routine. Here's the diagnostic and the fix.
frizzy tips are chemical damage, not heat
Nothing in a lamination protocol uses direct heat, so "burned tips" is a misnomer that hides the real diagnosis. What you're looking at is Step 1 over-processing: the reducing agent broke too many disulfide bonds in the cortex, and the cortex lost more structural keratin than it can rebuild before the next appointment. The cuticle stays half-open, the exposed cortex absorbs ambient moisture unevenly, and the fiber frizzes.
This isn't cosmetic. It's structural. And it's why applying more product to "smooth the frizz" makes it worse.

what actually broke in the cortex
Step 1 uses a reducing agent — ammonium thioglycolate at pH 8-9.5 or cysteamine at pH 6.5-8 depending on the system — to break the disulfide bonds inside the cortex. The ammonia opens the cuticle scales, the hair shaft swells, and the keratin softens enough for the bonds to break. Step 2, a 3% hydrogen peroxide oxidizer, reforms those bonds in the new shape you set on the shield.
Over-processing happens as soon as one of three things goes wrong:
- Step 1 stayed on too long for the hair's actual porosity
- The formula was too concentrated for the hair profile in front of you
- Sessions came too close together, before the hair cycle regenerated the fiber
In all three cases, the cortex loses structural keratin it can't fully replace. The cuticle lifts and stays half-open. The exposed cortex behaves like a sponge — pulling moisture unevenly from the air, drying out under UV, frizzing in humidity. This is the fiber you now have to work with, and the fix isn't more chemistry.
The tips absorb Step 1 faster than the roots — always
Even on healthy virgin hair, the tips carry higher natural porosity than the roots. That means Step 1 penetrates the ends deeper and faster than the base, and localized over-processing at the tips can happen while the roots are still under-processed. A roots-first application with a 2-3 minute gap before you extend to the tips is the single biggest lever for avoiding this pattern.
diagnose the damage: the elasticity test
A brow that frizzes 48 hours after a service could be poor aftercare (client wet it too early, slept face-down) or genuine cortical damage. The 30-second elasticity test tells you which. Every practitioner should master it before running another Step 1 sachet.
The elasticity test in 4 steps
- Lightly moisten a few hairs with clean water.
- Pinch one hair between your thumb and forefinger.
- Gently pull, extending the fiber by a few millimeters.
- Release and observe.
Healthy hair: stretches slightly, then returns to its original position. Elasticity intact.
Over-processed hair: stretches without resistance and doesn't return — or snaps cleanly. Structural integrity compromised.
Snapping mid-test: the hair is severely damaged. Absolutely no chemistry until regrowth.
Visible signs that confirm the diagnosis
Run the elasticity test first. Then look for the visible markers below. Two or more of these on the same brow, and you're dealing with confirmed structural damage — not a bad aftercare morning.
Dry, rigid, cotton-like texture
The hair no longer feels smooth. Rough or wooly to the touch along the length.
Unwanted frizz or waves at the tips
Random directional chaos at the ends, no matter how much you brush.
Hairs snapping at spoolie pass
The mildest brushing breaks fibers. Fresh short hairs on the spoolie after each pass.
Loss of shine, matte appearance
Dull, lifeless, no light reflection. The cuticle no longer sits flat.
Visible thinning of hair diameter
The fiber itself looks skinnier than it did pre-service.
Hair holds neither shape
Won't return to its natural direction, won't hold the laminated one. Chaotic.
A hair that snaps mid-test contraindicates the appointment
If the elasticity test snaps a hair, you don't book the lamination. You explain the finding, refuse the service, and start the client on the repair protocol below. Running Step 1 on already-compromised fiber destroys what's left. Losing one appointment protects the client and your studio's reputation.
the chair errors that caused it
Frizzy tips almost always trace back to one of three technical errors. All three are avoidable once you know they exist.
three errors, three fixes
Excess product on the tips
Gravity and capillarity pull Step 1 down toward the ends, concentrating the reducer exactly where the hair is already most porous. The correct dose is the smallest uniform layer that coats each hair — never a visible film on the skin. If you can see the cream sitting on the brow, you've applied too much.
Skipping or shortcutting Step 3
Step 3 isn't a nicety. It exploits the maximum-absorption window right after neutralization, when the cuticles are still ajar and the internal channels accessible, to drive hydrolyzed keratin and peptides back into the cortex. Skip it and the cortex stays porous, moisture management fails, delayed frizz shows up in 48-72 hours. Never optional.
Sessions stacked too close
The brow hair cycle runs 6 to 8 weeks (anagen, catagen, telogen). Relaminating before that cycle completes exposes hair that's still rebuilding to new chemical stress. Minimum spacing: 6 weeks on healthy hair, 8 weeks on tinted, previously treated, or fragile hair. Same rule for reducers and oxidizers.
the repair protocol: 6 to 8 weeks, week by week
The goal isn't to "cure" damaged hair — a broken cortex doesn't fully mend. The goal is to support the residual structure, feed the follicle, and carry the client through until healthy new hair replaces the damaged fiber. Written schedule below.
Why you can't shorten the 6-week hiatus
Clients who see the first weeks of improvement often ask to re-laminate early. They're seeing the surface repair work, not the fiber rebuilding. New chemistry on cortex that's still restructuring reverses the entire recovery — sometimes with worse damage than the original. Document the hiatus policy, explain it upfront, and hold the line. Trust in the timeline is what makes the client come back at week 9 instead of a competitor at week 4.
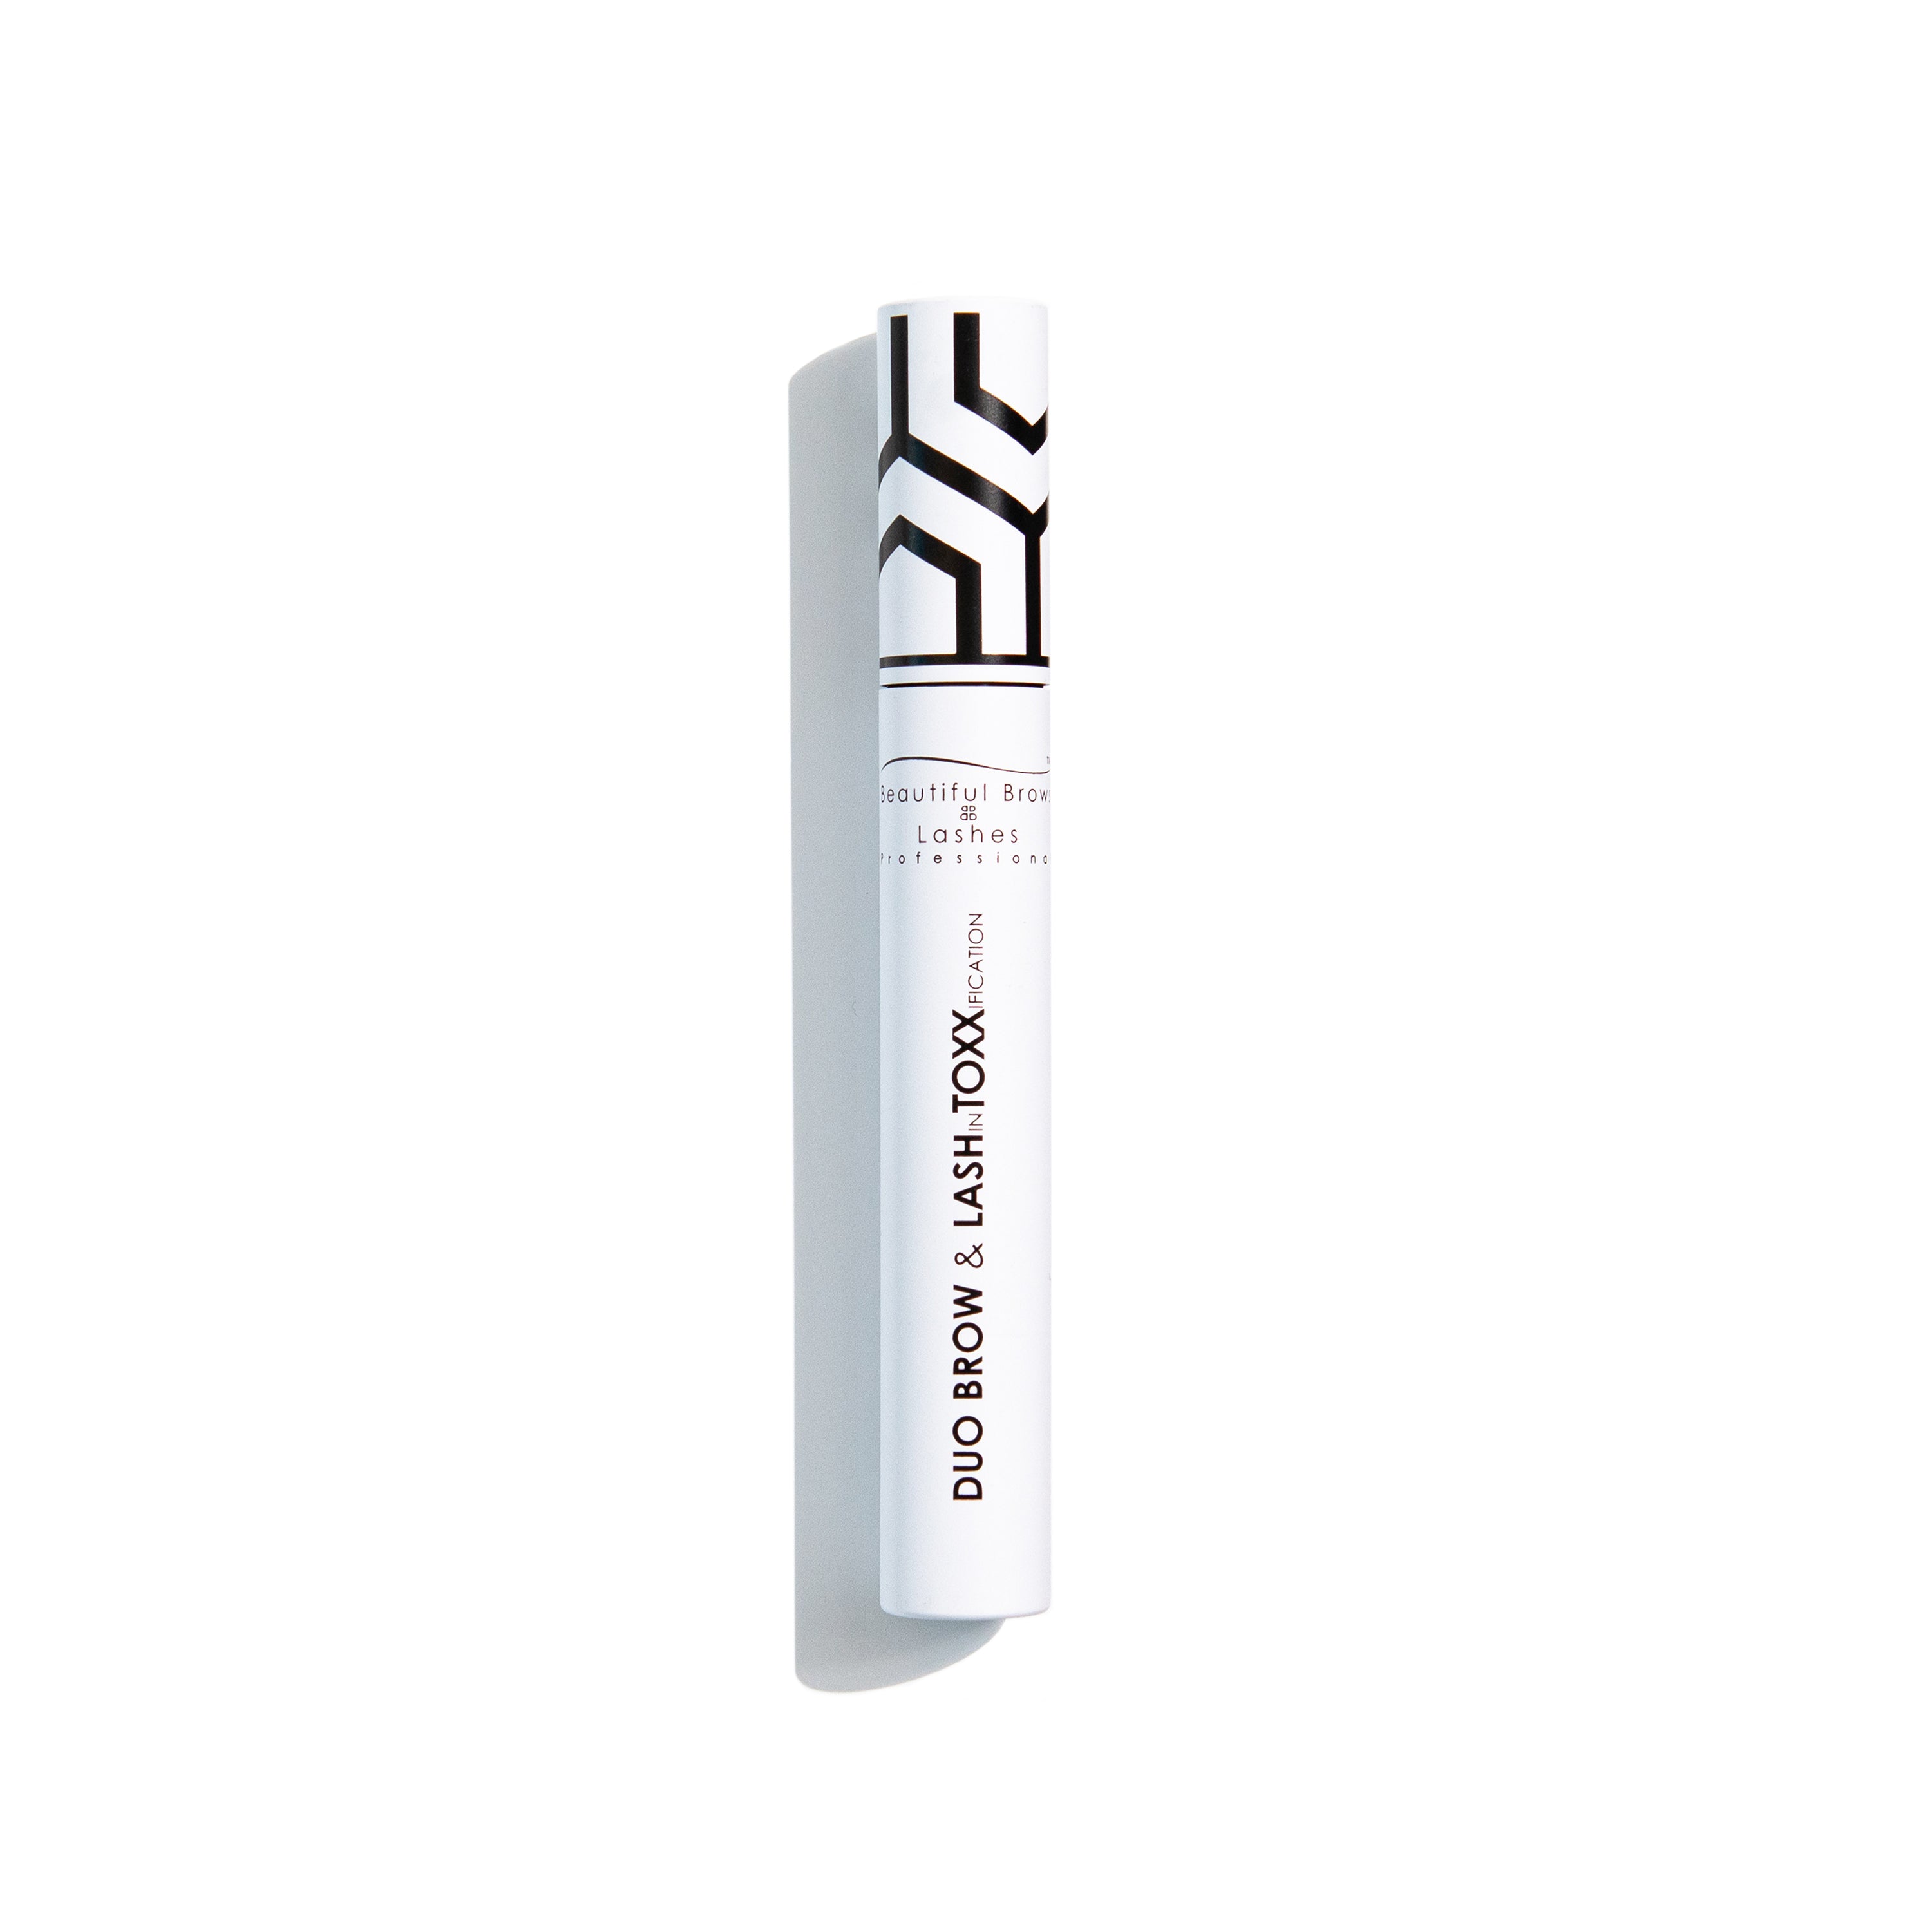
DUO Brow & Lash InTOXXification
The conditioning leave-in built for the post-service repair window and for daily use during recovery. Runs no lamination chemistry — just conditioning support that lets the fiber rebuild between appointments. The retail piece to hand clients when the 6-week hiatus starts, so they leave with an active recovery plan instead of just a "come back in 6 weeks" line.
Shop The Toxx Serumprevent it next time: the pre-lamination checklist
Every over-processing case is preventable. Three practices at intake and one during the service catch nearly all of them before the damage happens.
Keratin pre-treatment before Step 1
Applying a keratin complex or lipid pre-conditioner before Step 1 does two things at once: it partially saturates the high-porosity zones (the tips) to slow their absorption of the reducer, and it improves how well the hairs adhere to the shield for cleaner shaping. Especially useful on tinted, previously treated, or already fragile hair.
Match the formula to the porosity
| Porosity Read | Formula Choice | Step 1 Ceiling |
|---|---|---|
| High porosity (fine, tinted, treated) | Cysteamine pH 6.5-8 | 6-8 min max |
| Medium porosity (natural, healthy) | Either system | Match to hair type |
| Low porosity (thick, coarse, virgin) | Thioglycolate pH 8-9.5 | 10-14 min ceiling |
The client diagnostic card
Every pre-lamination intake should document: recent tinting or chemical service history, prior lamination reactions, declared fragility, allergic history, pregnancy status, and active medications (especially retinoids, antibiotics, and hormonal treatments). The card is both a technical filter — telling you which formula and timing to run — and a documentation trail that protects the studio if a complaint ever surfaces.
Roots-first application, tips 2-3 minutes later
The single biggest chair-side lever against localized tip damage. Apply Step 1 at the roots for the first 2-3 minutes of the pose, then extend down to the mid-length and tips for the remainder. This offsets the natural porosity gradient — the roots need more time, the tips need less, so give them different exposure windows.
home care: the client's daily routine
The repair protocol works because the client actually runs it at home. Written schedule, three products max, and a clear "why" for each — that's what gets followed. Verbal instructions at checkout don't.
The three-piece daily routine
- Morning: Gentle upward brushing with a dry clean spoolie. No traction, no pulling. 30 seconds per brow. This aligns the recovering fiber and stimulates circulation.
- Evening: Hydrolyzed keratin serum or castor oil, applied lightly to the length. Alternate between the two nights to hit both the protein and the lipid deficit. Never apply oil close to the eye.
- Weekly: 10-minute intensive peptide and hyaluronic acid mask. The deep-repair layer that pushes the recovery forward faster.
What to avoid entirely
- Any brow lamination, tint, or chemical service for the full hiatus.
- Oil cleansers, sulfates, alcohol toners on or near the brow line.
- Aggressive spoolie brushing — brush light, brush slow.
- Retinol, AHA, BHA, or exfoliating actives near the brow area.
- Direct heat (blow dryer at the face, sauna, steam) during the first 6 weeks.
glossary cheat sheet
- Over-Processing
- State where Step 1 has broken more disulfide bonds in the cortex than the hair can rebuild between sessions. Produces frizz, fragility, and structural loss.
- Cortex
- The central layer of the hair fiber where keratin and disulfide bonds live. The zone where chemical damage concentrates.
- Cuticle
- The outer scale layer of the hair. When lifted or left half-open by over-processing, it exposes the cortex and drives the frizz behavior.
- Disulfide Bonds
- Covalent sulfur-to-sulfur links that hold the hair's structure. Broken by Step 1, rebuilt by Step 2. Over-processing breaks too many at once.
- Elasticity Test
- 30-second diagnostic where a lightly moistened hair is gently pulled to check if it stretches and returns, stretches without returning, or snaps.
- Hydrolyzed Keratin
- Keratin broken into low-molecular-weight peptides small enough to penetrate the cuticle and reach the cortex, where they fill the gaps left by chemical damage.
- Porosity
- The hair's ability to absorb moisture and chemical products. High porosity = fast absorption = higher over-processing risk.
- Chemical Hiatus
- The 6 to 8 week window of zero chemistry required to let the follicle regenerate healthy fiber and end the damage cycle.
keep exploring the SOS troubleshooting silo
Over-processing is one specific SOS scenario. If your client walked in with a different failure pattern — a lift that dropped, a reaction on the skin, a tint that went dark — the sibling guides below cover the rest of the recovery playbook.
The rest of the SOS diagnostic library
SOS Brow Lift: Fixing Lamination Mistakes
The master SOS troubleshooting guide covering every kind of brow lamination mistake. Start here if you're not sure what went wrong.
Read the guide → Sibling GuideMy Brow Lift Didn't Last: Checklist of Causes
The retention failure diagnostic — 11 causes of a brow that dropped too fast, ranked by impact, with the fix for each.
Read the guide → Sibling GuideAllergic Reaction or Redness: What to Do
When the damage is on the skin instead of the hair. Sensitivity, contact dermatitis, and the response protocol.
Read the guide → Sibling GuideBrows Too Dark After Post-Lift Tint
When same-session tinting went too strong on an open cuticle. Correction and next-time prevention.
Read the guide →professional questions from the chair
Why are my client's brows frizzing after a lamination?
Is Step 3 really that important?
What's the actual minimum time between two laminations?
How do I know if a brow can even be laminated in its current state?
Can I trim the damaged tips off to fix the frizz?
What if my client insists on getting re-laminated at week 3?
Does the reducing agent choice really matter that much for prevention?
How do I explain the 6-8 week hiatus so the client actually follows it?
the tools the hair needs during the 8-week hiatus
Send clients home with the DUO Brow & Lash InTOXXification aftercare serum on day one of the hiatus. Active recovery beats a passive wait, and the client who has a plan is the client who comes back at week 9.
Shop The Toxx Serum